If you love snapping pictures of trees, ponds, and people enjoying the outdoors, you’re in the right place. London’s parks are full of colors, reflections, and unexpected angles. Below are simple, practical tips you can start using today.
The best light for park photos is early morning or late afternoon. The sun sits low, casting warm, soft shadows that add depth to trees and pathways. If you shoot at noon, the light can be harsh, flattening details. Look for dappled shade under foliage – it creates gentle highlights without blowing out the sky.
Keep the frame clean. Place the main subject – a statue, a duck, a flower – on a third of the image using the rule of thirds. Leading lines like pathways, bridges, or rows of benches guide the eye toward the subject. When you see a natural frame, such as arching branches, tuck the subject inside it for a tidy look.
Don't over‑pack the scene. If a pond is full of people, isolate a calm corner or shoot from a higher spot to remove distractions. A quick glance around the park often reveals a quiet bench or a hidden garden that makes a perfect background.
You don’t need a pricey lens to get great park shots. A 18‑55 mm kit lens works fine for most scenes. If you have a telephoto, use it to capture wildlife without getting too close. A tripod helps in low light or when you want to keep the camera still for water reflections. Even a phone camera can produce sharp images if you hold it steady and use the grid lines for composition.
Get down low to make flowers look larger than life. Shoot from a crouch or lie on the grass to capture the sky peeking through branches. Conversely, climb a low wall or use a step ladder to view a pond from above – you’ll see patterns in the water you missed at eye level. Changing perspective adds a fresh feel to familiar spots.
People walking, joggers on the path, or ducks gliding across the water add life to a photo. Use a slightly slower shutter (1/60 s) to blur motion just enough to feel dynamic, or freeze the action with a faster speed if you want sharp subjects. In both cases, focus on the eyes of a person or the head of an animal for a stronger connection.
For smoother water, try a longer exposure (1‑2 seconds) with a tripod. The water will turn silky while the surrounding elements stay crisp. If you don’t have a neutral‑density filter, shoot on an overcast day – the clouds naturally reduce light, letting you use slower speeds.
Hyde Park’s Serpentine offers reflections and boat traffic, perfect for golden‑hour shots. Regent’s Park’s rose garden blooms in late June, providing vibrant colors and close‑up details. Greenwich Park’s hill gives a panoramic view of the city skyline; capture it when the sun sets behind the Thames for a dramatic silhouette.
Take a quick walk around before you start shooting. Look for benches with interesting backs, statues with unique details, and hidden pathways that most visitors miss. Those spots often become your most shared photos.
After shooting, a quick edit can boost colors and correct exposure. Increase contrast just a touch, boost saturation for greens and blues, and sharpen the edges of your main subject. Keep the edit natural – you want viewers to feel they could walk into the scene themselves.
With these easy park photography tips, you’ll turn everyday park visits into a gallery of fresh, lively images. Grab your camera, head to the nearest green space, and start experimenting right away.
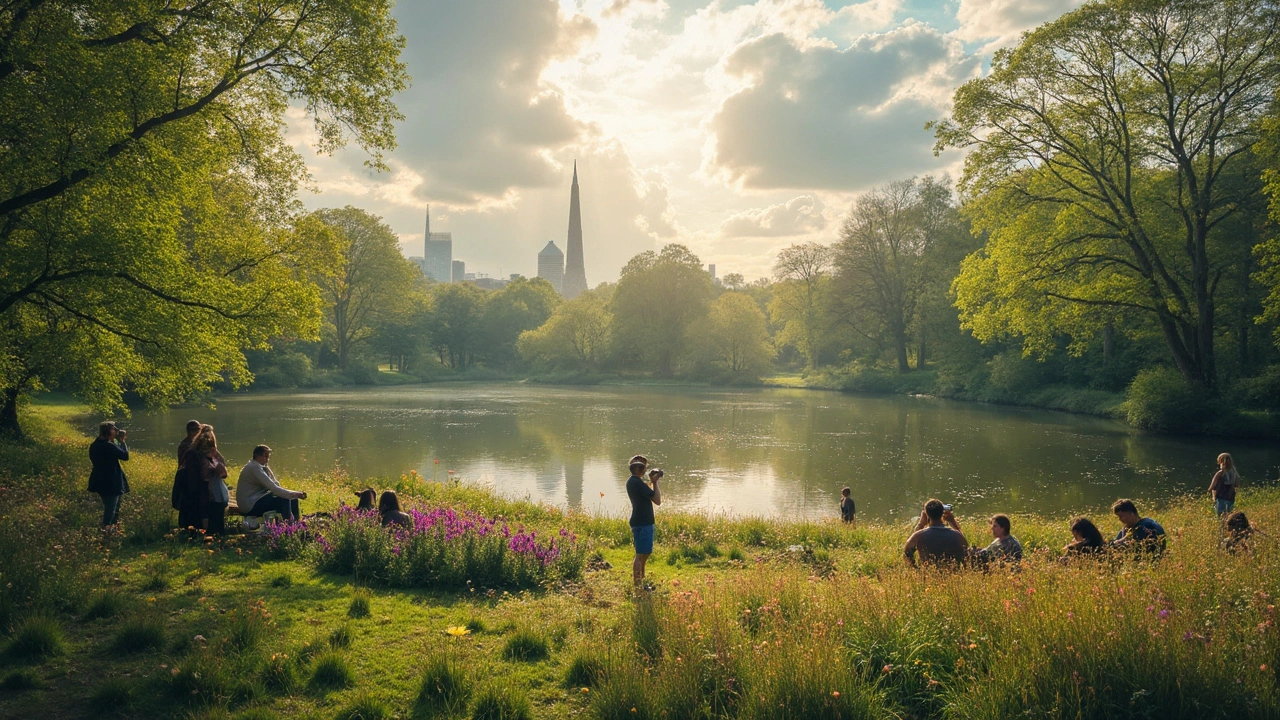
Eyeing that perfect shot? London’s green spaces are full of hidden gems for photographers, from classic skyline views to unexpected woodland corners. This article shares the city’s most photo-friendly parks, with hands-on tips and local insights to help you capture London’s character. Whether you reach for your phone or lug around a DSLR, you’ll find advice tailored for every level. Local culture, British weather, and seasonal secrets—everything’s covered. Want to find London’s most Instagrammable parks? You’re in the right place.